Enlarge Image to the Size You Need

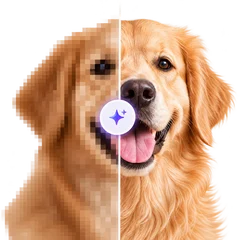
Enlarge image files to four times their size, or to the exact width or height you type, right here in your browser. This page opens with Scale already set to 4×, so an 800 × 533 product photo comes out at 3200 × 2132 pixels. If you type a size instead, the tool picks the method for you: up to 4×, an AI model draws the new pixels; beyond 4×, the extra size comes from plain interpolation (ordinary stretching, no AI). In our tests, no setting brought back detail your original had already lost. Enlarging also never adds canvas around the photo. Your image is processed on your device, not uploaded.

WHY USE IT

Features

AI enlargement, set to 4× on this page

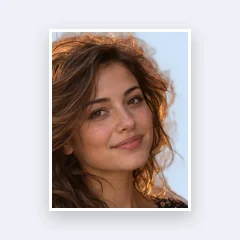
"Scale" is set to 4×, "Speed" to "Fastest" and "Output format" to "Original format". Drop in a picture and it starts right away: our 563 × 589 portrait came out at 2252 × 2356. For a smaller step, click 2× and press "Upscale".

Enlarge to an exact width or height

With one image open, the "Width (px)" and "Height (px)" boxes take the size you need, with the aspect ratio locked. Up to twice the original, the tool runs the 2× model and scales the result down to your number. Between 2× and 4× it runs the 4× model. Past 4×, it runs the 4× model and stretches the rest of the way with plain interpolation.

Three speeds and a Restore mode, all free in your browser

The tool has two modes. "Enhance", the default, offers three options under "Speed": "Fastest", "Standard" and "Fine". "Restore ✦" also removes noise and has its own "Denoise" and "Strength" settings. All of them run free in your browser. Each speed produced a different file in every one of our tests, and Fine measured closest to the original. The first image also loads the model: Fastest took 14.6 seconds on our first 800 × 533 photo and about 4.5 seconds after that, on an M4 Mac mini.

Transparent PNGs stay transparent

The AI model only handles color, not transparency, so the tool sets the transparency aside and puts it back afterwards. Our 400 × 400 logo with a transparent ring kept exactly the same share of transparent pixels (62.9%) at 1600 × 1600. Choose WebP or PNG to keep the transparency; JPG fills transparent areas with white.

OUR TEST

Our 4× test, November 21, 2026: how close each setting came to the original photo (dB, higher is closer)

SettingSneakerCatWatch
Plain, no AI31.532.326.1
Fastest31.332.026.1
Standard31.532.126.2
Fine32.233.226.8
Restore ✦29.228.625.1
WHAT IT'S FOR

Use cases

Printing a photo bigger than its pixels allow

A 1080-pixel photo saved from a chat app covers only 3.6 inches on its long side at 300 pixels per inch. Enlarged 4× on a computer it becomes 4320 pixels, enough pixels for 14.4 inches at that density, though the print will only be as detailed as the 1080-pixel original. The new pixels are drawn by the model, so check faces and lettering at full size before you order the print.

A product photo that is too small for your template

Supplier photos and old listings are often around 800 pixels wide, while a shop theme, catalog layout or print shop may ask for 2000 or 3000. Type the width you were given and the tool picks 2× or 4× on its own. The same sneaker photo, at 800 × 533, came out at 3200 × 2132 in about 4.5 seconds on Fastest once the model had loaded.

A screenshot or diagram for slides or a poster

Screenshots are sharp at their own size but blur when a projector or printer stretches them. Enlarging a 1280 × 720 screenshot 4× gave 5120 × 2880. "Restore ✦" made our small gray text black and turned the near-white background (246, 247, 249 in RGB) pure white, which can help readability but changes the colors.

HOW IT WORKS

How to enlarge an image to a set size

01

Add the picture

Drop, paste or pick an image up to 100MB. Supported formats: JPG, PNG, WebP, HEIC, AVIF, TIFF, BMP, and TGA. It is enlarged 4× as soon as it arrives. Enlarging a single picture needs no account; to enlarge up to 20 at once, sign in with a free account, then press "Upscale all".

02

Change the size or speed if you need to

Click 2× for a smaller step, or type a number into "Width (px)" or "Height (px)" (with several images, "Longest side (px)"). Pick "Fine" under "Speed" if you want the result closest to the original, then press "Upscale".

03

Check the result and download

The line under the result shows its pixel size, format and file size. Change "Output format" if the file is too big for where it's going (this only re-saves the file, it doesn't run the model again), then press "Download".

Enlarge image to an exact size: what happens past 4×

The models behind this tool only work in whole steps of 2× and 4×, so a typed size is reached in two moves. The tool runs the smallest step that reaches your number, then resizes the result to the exact size with plain interpolation. We checked this with a 500 × 333 perfume photo. Typing 2000 pixels gave a file byte-for-byte identical to pressing the 4× button. Typing 1100 also ran the 4× model and then scaled down, and it took about as long as 2000 (2.1 seconds each once the model had loaded). At 3000 and 4000 pixels (6× and 8×), the extra size comes from interpolation alone. The 4000-pixel result was almost identical to the 2000-pixel result simply stretched with a standard bicubic filter (46 dB PSNR; higher means more alike). In other words, an 8× enlargement has the detail of the 4× version, just with more, softer pixels. If you type a size smaller than the original, the tool only shrinks the image and doesn't use the AI at all.
How many pixels a print needs

To enlarge an image for printing, work out the pixels the print needs, enlarge to that width or height here, then set the print size in inches or centimeters in your print dialog or the lab's order form, because the enlarged file carries no DPI value. Enlarging gives the print enough pixels; it doesn't add detail the original didn't have. To get the pixel count, multiply each side in inches by the pixels per inch (ppi) you want. At 300 ppi a 4 × 6 inch print needs 1200 × 1800 pixels, 5 × 7 needs 1500 × 2100, 8 × 10 needs 2400 × 3000, A4 needs about 2480 × 3508 and 11 × 14 needs 3300 × 4200. At 150 ppi you need half of each number. Labs don't all ask for the same density. Nations Photo Lab, for example, says in its image resolution guide that "high resolution images (125 PPI or higher) print beautifully". On a computer this tool goes up to 8000 pixels on the long side before it shows a warning, which is 26.7 inches at 300 ppi. On phones and tablets the warning starts at 3000 pixels, exactly the long side of an 8 × 10 at 300 ppi, or at 2000 pixels on phones and tablets that report less than 4 GB of memory. If you ask for more, a "Large output size" warning appears. "Cancel" stops without processing the image; pick 2× or type a smaller size, then press "Upscale". "Continue anyway" goes ahead but may crash the page.

Fastest, Standard, Fine or Restore: what our 4× test showed

For the table above, we shrank three 1536 × 1024 photos (a sneaker, a cat and a watch) to 384 × 256, enlarged each back 4× with every setting, and measured how close the result came to the original photo with PSNR, a similarity score in dB where higher means closer. "Plain, no AI" is Resize Image at 400%; Fastest, Standard and Fine are the speeds of the default "Enhance" mode; they run the ESRGAN Slim, Medium and Thick models from UpscalerJS (version 1.0.0), and Restore runs Real-ESRGAN's realesr-general-x4v3. Speed was timed separately on the 800 × 533 sneaker photo on an M4 Mac mini, with the model already loaded: Fastest took 4.2–4.7 seconds, Standard 5.8–8.5, Fine 32–41 and Restore about 2 minutes 50 seconds, while plain resizing took 5.2 seconds. Fine was the closest to the original every time, 0.7 to 0.9 dB ahead of plain interpolation. Fastest and Standard looked sharper, but they scored about the same as plain interpolation or slightly lower. None of them brought back what the small version had lost: the brushed texture on the watch dial and the small cap at the center of the hands never came back. Because the small versions were made by clean downscaling, real low-resolution or heavily compressed photos may behave differently. The sample is only three photos, so treat these numbers as a rough guide. "Restore ✦", the tool's other mode, which also removes noise, changed the picture the most. On a heavily compressed old photo it removed the blocky 8 × 8 JPEG artifacts that the other settings simply enlarged, but it turned the cat's fur into painted-looking streaks. On our portrait it redrew part of the eyelid. It also took the longest, from 53 seconds for a 400-pixel logo to almost 8 minutes for a 1280 × 720 screenshot. Use it when noise and blockiness are the problem, and check faces at full size.

Enlarged files carry no DPI or camera data

The tool saves a brand-new file from the enlarged pixels, so the original's metadata is not copied. We enlarged a JPG tagged 300 DPI with a camera name and GPS location, plus a PNG tagged 300 DPI. Neither output had EXIF data or a GPS location, the JPG recorded only a 1:1 pixel aspect ratio with no DPI value, and the PNG had no resolution setting at all. That matters when you print: set the print size in inches or centimeters in the print dialog or the lab's upload page, rather than relying on the file to say how big it should be. Losing the GPS location is a side effect, not a privacy feature you should rely on; if location matters, check the downloaded file.

How big the file gets after a 4× enlargement

A 4× enlargement has 16 times as many pixels, and the file grows a lot, though not by a fixed factor: it depends on the format and the picture. With "Original format", our 79.8 KB portrait JPG became 658 KB and our 4.7 KB logo PNG became 332 KB. Choosing WebP shrank the same results to 388 KB and 69 KB (the logo kept its transparency), while PNG pushed the portrait to 5.2 MB. A 45 KB PNG screenshot (1280 × 720) came out at 1.9 MB as PNG, 536 KB as JPG and 222 KB as WebP. HEIC and WebP photos are saved as WebP when "Original format" is chosen. If a form or site has an upload limit, pick WebP or JPG here, or run the result through Compress Image afterwards.

FAQ

Frequently asked questions

Not if you mean getting lost detail back. Enlarging adds pixels, and the AI guesses what should go in them, so edges look cleaner than with plain interpolation, but detail that wasn't in your original won't appear. In our test, the best setting ("Fine") scored less than 1 dB closer to the original than plain interpolation, and fine textures stayed missing. Start from the largest original you have.

Related articles

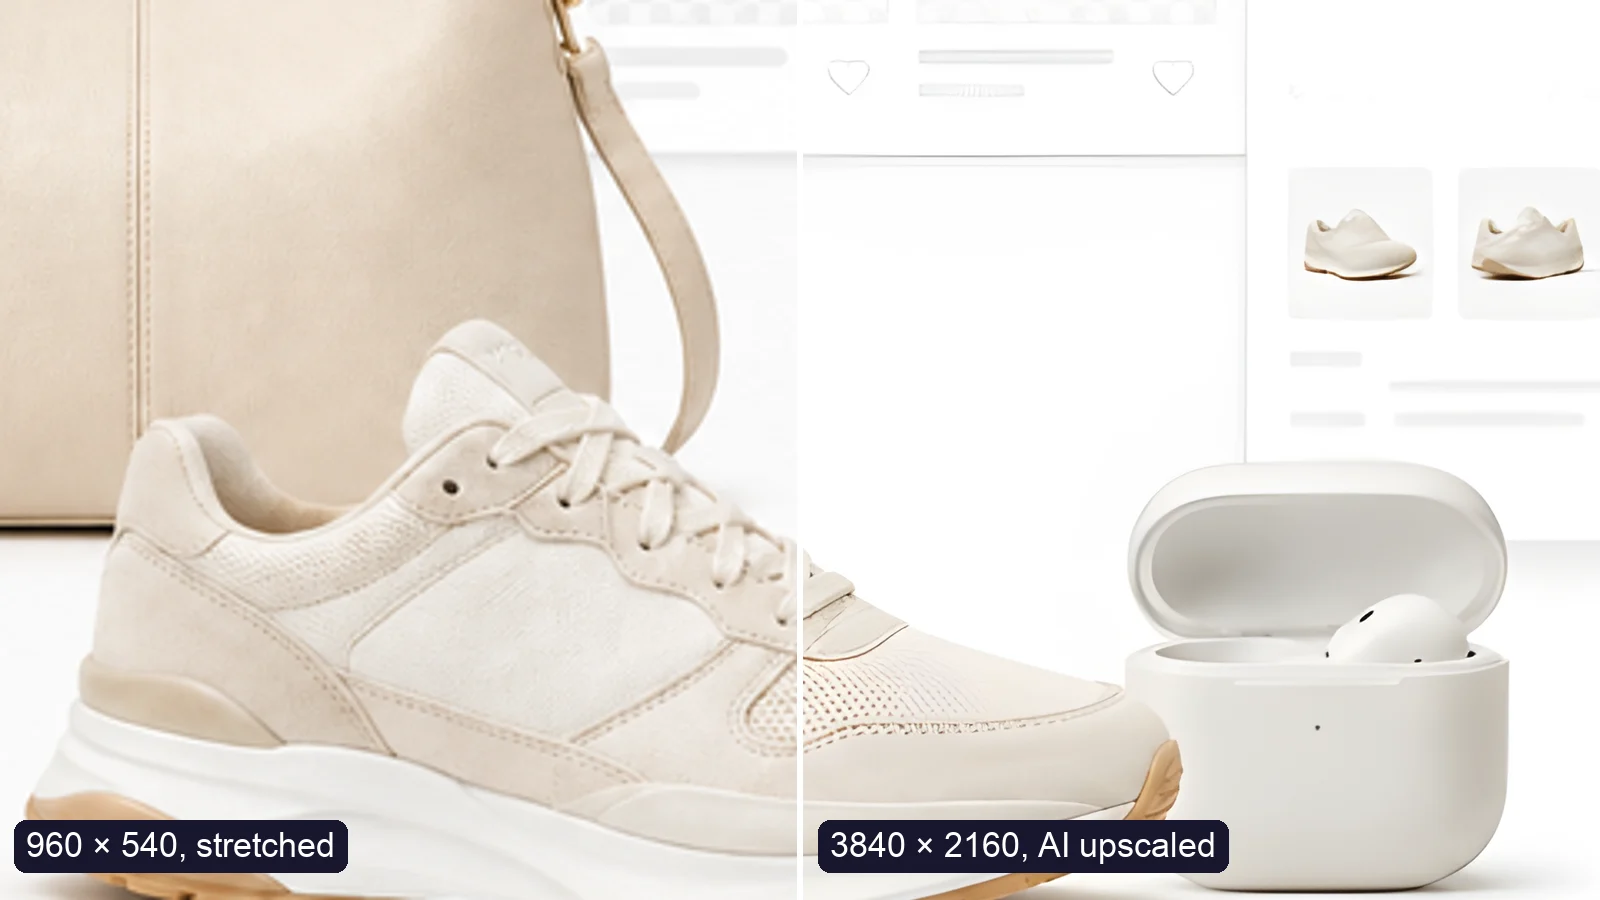
A sneaker photo: left half stretched from 960 × 540, right half upscaled to 3840 × 2160 with AI
Guide

How to Upscale an Image to 4K Without Losing Quality

Upscale an image to 4K (3840 × 2160) without losing quality: what AI can and can’t recover, free vs Pro tools, and a real 4× test.

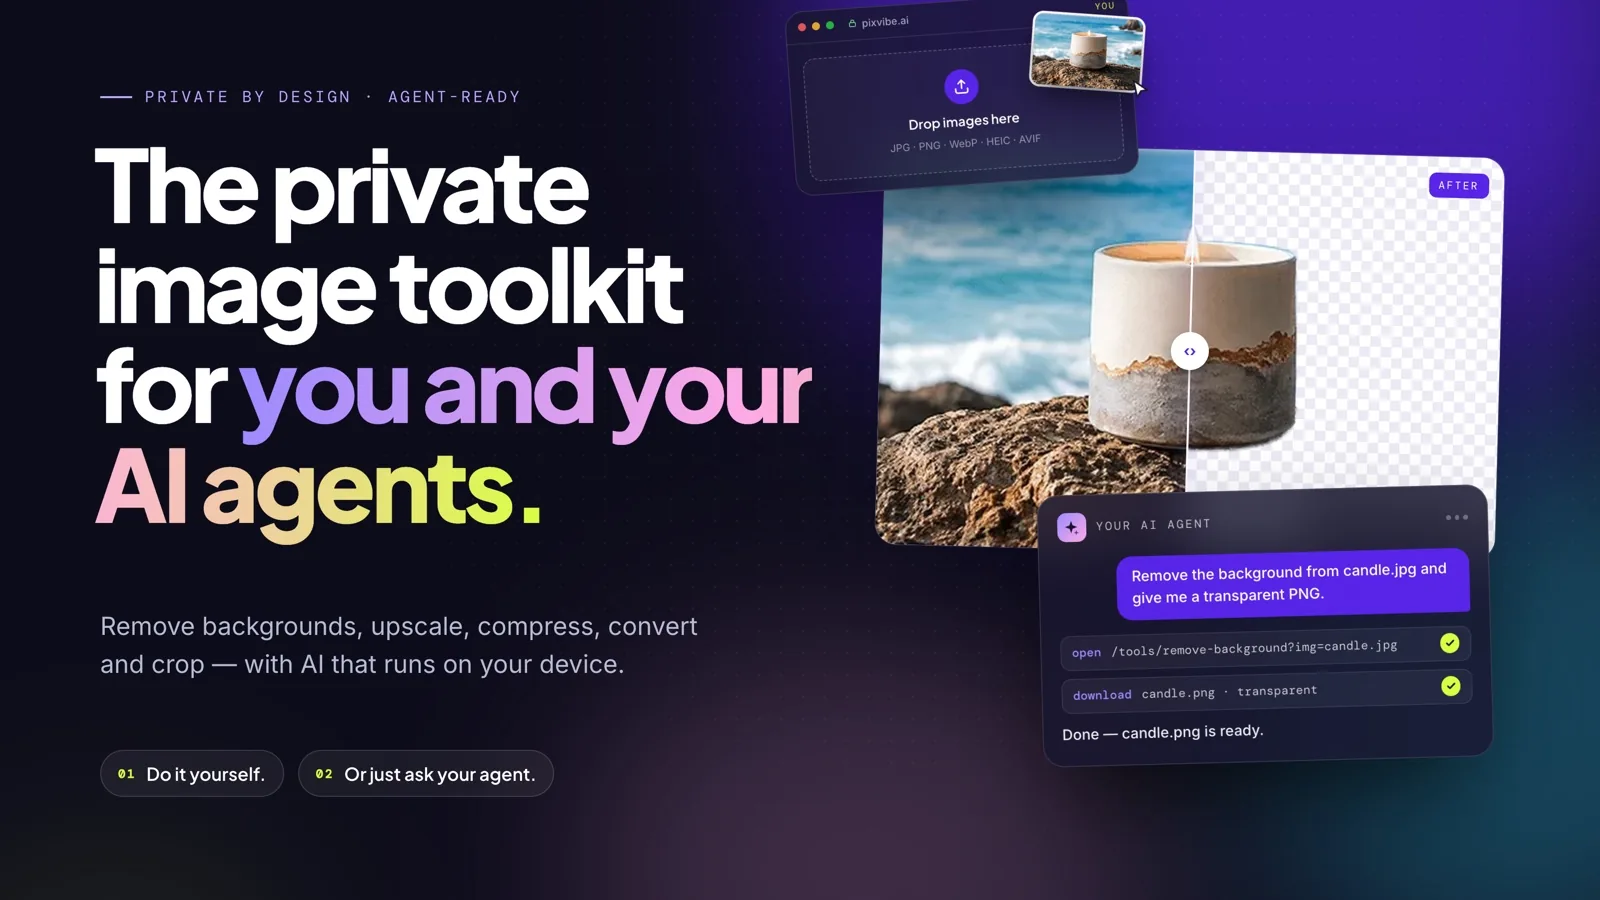
PixVibe, the private image toolkit for you and your AI agents: an agent opens a link and downloads a transparent candle cutout
Guide

How to Let Your AI Agent Edit Images with PixVibe

Let an AI agent edit images with PixVibe: one link per job, no API key. We tested Claude, Codex and ChatGPT agent, and show what to check.

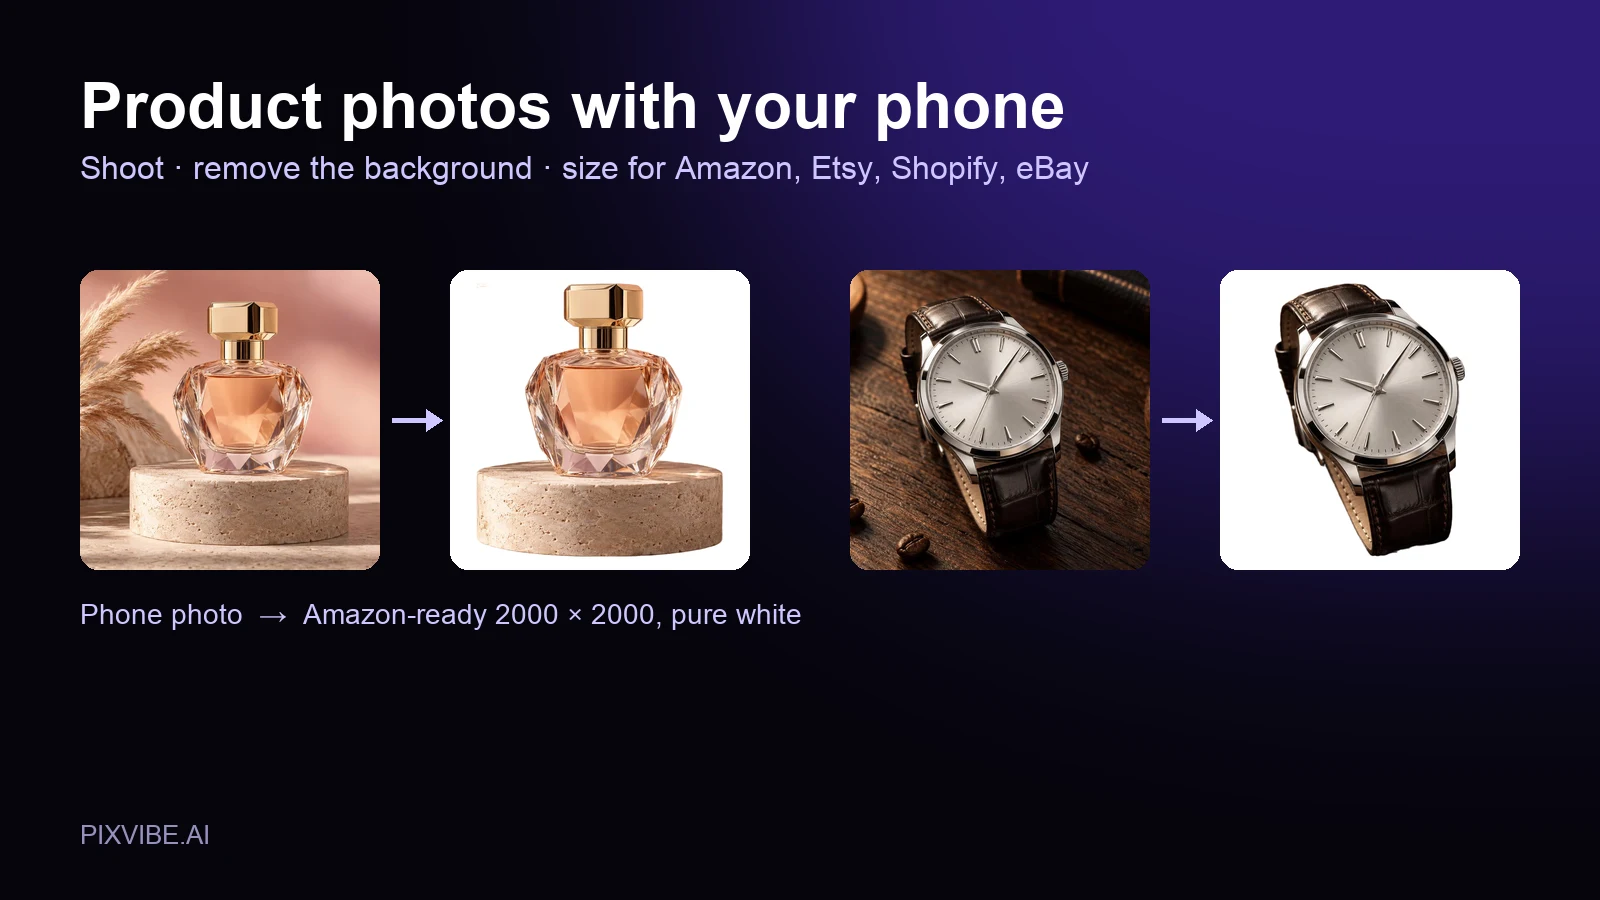
A perfume bottle and a watch photographed on a phone, each turned into a 2000 × 2000 product photo on a pure white background
Guide

Product Photos With Your Phone: Amazon, Etsy & Shopify Sizes

Shoot product photos on a phone, remove the background, and size them for Amazon, Etsy, Shopify and eBay. Official rules in one table.

MORE TOOLS

Explore more tools

Free image tools

Free · In-browser processing

Free video tools

Free · In-browser processing

Pro tools

Server AI · Uses credits

Tags on this page