How to Upscale an Image to 4K Without Losing Quality
Upscale an image to 4K (3840 × 2160) without losing quality: what AI can and can’t recover, free vs Pro tools, and a real 4× test.
No upscaler can recover detail your camera never captured. So when you upscale an image to 4K without losing quality, the real question is what fills the missing pixels. The two families of AI upscalers answer it very differently, and picking the wrong one is the most common mistake.
This guide covers what 4K means in pixels, why plain resizing looks soft, a free way to do it in your browser, and a side-by-side test of a pixel-faithful model and a generative one on the same 960 × 540 image.
What 4K means in pixels
For screens and images, 4K almost always means 3840 × 2160, the UHD format defined in ITU-R Rec. 2020 (Wikipedia — 4K resolution). Digital cinema uses a wider 4096 × 2160, called DCI 4K. How far you need to scale depends on where you start:
| Your image | Scale to reach 3840 × 2160 |
|---|---|
| 960 × 540 | 4× |
| 1280 × 720 | 3× |
| 1920 × 1080 | 2× |
| 3840 × 2160 | Already 4K |
If the factor is not a clean 2× or 4×, set the size instead. The free image upscaler takes an exact width or height, such as 3840 px, and scales to it.
Why stretching an image to 4K makes it blurry
Ordinary resizing, the "bicubic" option in most editors, computes each new pixel from the 16 pixels around it (Wikipedia — Bicubic interpolation). It averages. It cannot draw an edge that is not already there, so a 4× enlargement comes out soft.
AI upscalers are trained on pairs of low- and high-resolution images. Instead of averaging, they predict the missing detail.

How to upscale an image to 4K for free
- Open the free AI upscaler and drop in a PNG, JPG, WebP or HEIC image.
- Choose 4×, or type 3840 as the width.
- Pick PNG as the output format and download.
The model runs on your own device. PixVibe uses ESRGAN models converted to TensorFlow.js for the browser (UpscalerJS — ESRGAN Slim), so the image is never uploaded. Two trade-offs come with that. Large outputs need a lot of memory, so the tool caps the long edge at 8,000 px on desktop and 3,000 px on phones unless you confirm. And for noisy or old photos, the Restore mode runs Real-ESRGAN's general model, realesr-general-x4v3, which its authors describe as a small model for general scenes (GitHub — xinntao/Real-ESRGAN).
Pixel-faithful vs generative upscaling
This choice decides what your 4K image looks like.
Pixel-faithful models such as Real-ESRGAN enlarge what is in the image and clean up blur, noise and compression artifacts. Real-ESRGAN was trained on synthetic "high-order" degradations so it copes with messy real-world photos (Wang et al., 2021 — Real-ESRGAN, arXiv:2107.10833). It does not add objects or lettering.
Generative models such as Seedream and GPT-Image redraw the image at the new size. The result looks sharp. The detail is the model's guess.
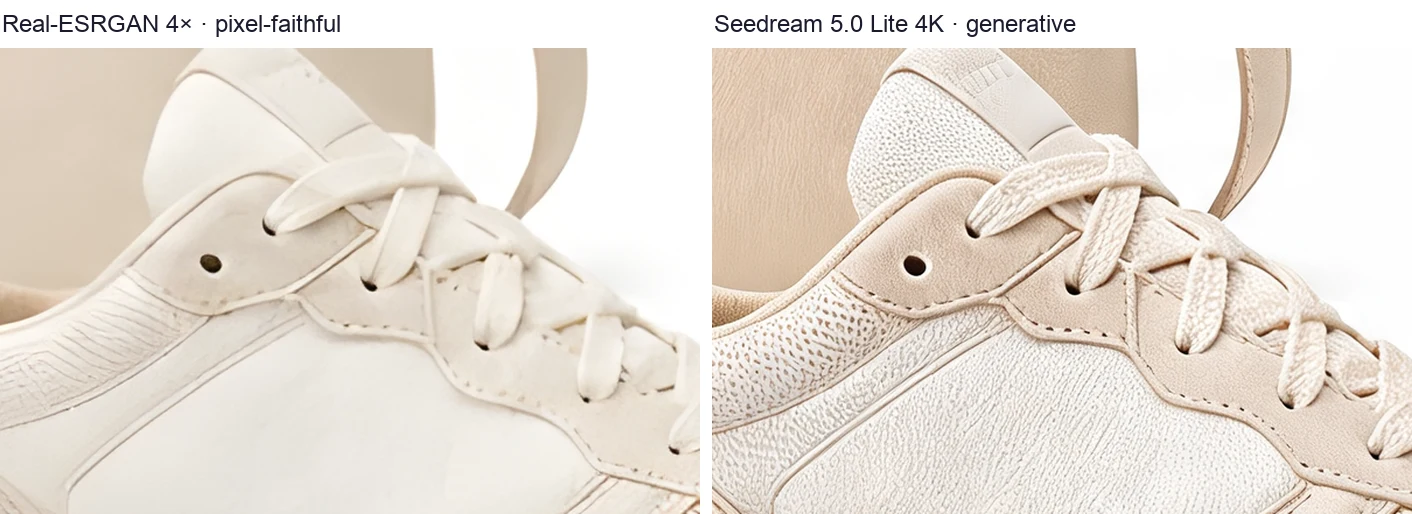
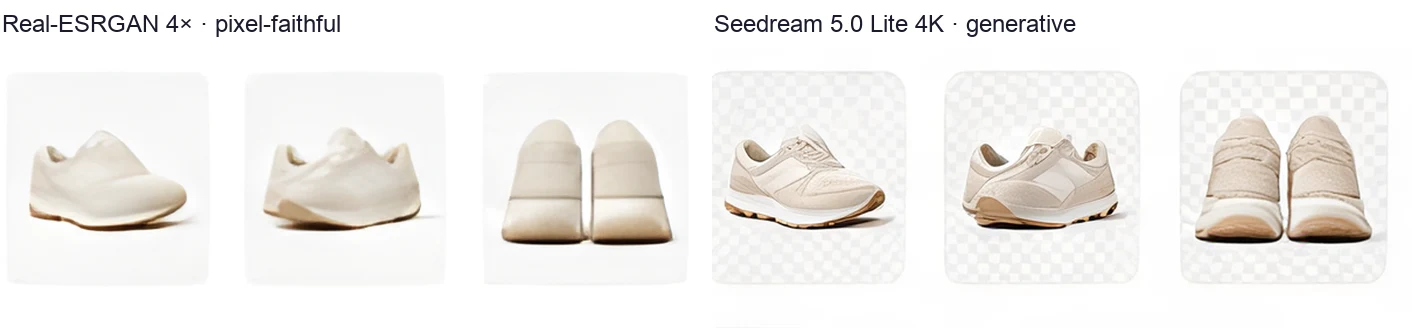
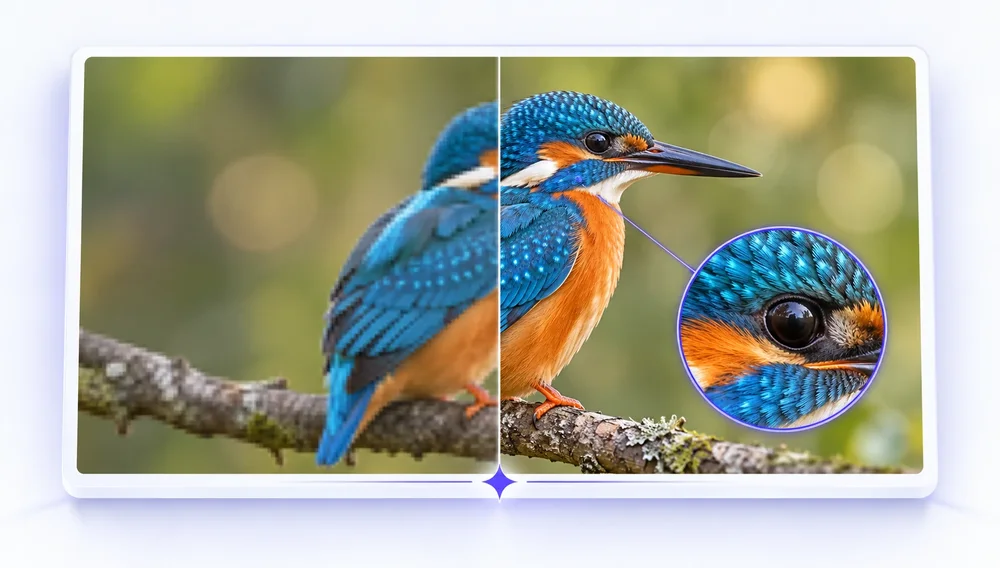
Our rule: if the image is a record, use pixel-faithful. That covers a product you sell, a screenshot, a document, or a face that has to stay the same person. If it is a mood image you will judge by eye, generative often looks better. The comparison above is one image and one run per model, not a ranking.
Upscale to 4K with the AI Image Enhancer
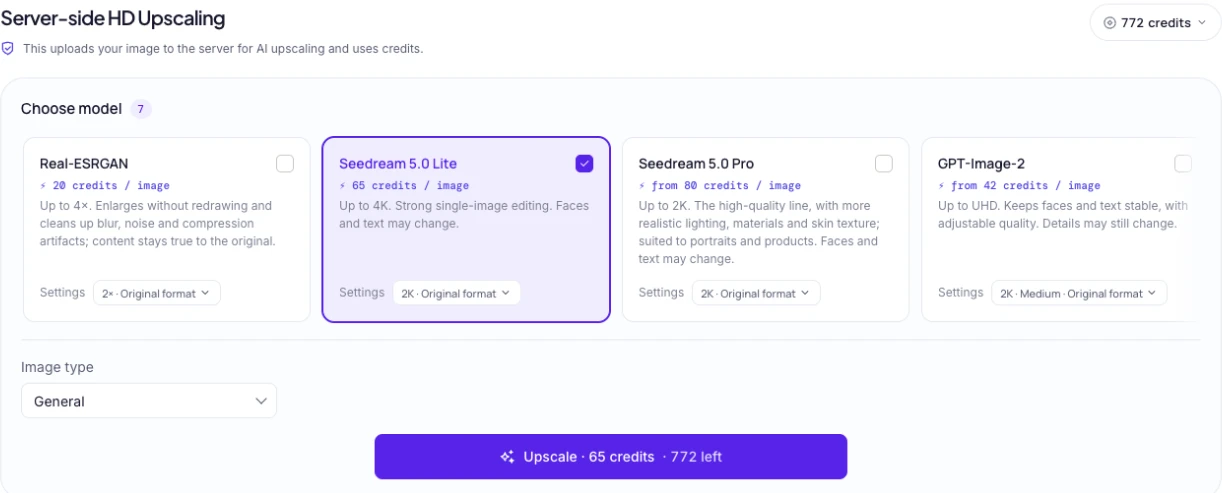
The AI image enhancer runs both kinds on our servers: Real-ESRGAN at 2× or 4×, plus six generative models whose maximum output is 2K, 4K or UHD depending on the model.
- Upload your image.
- Tick one or more models and set the output size for each. Several models run on the same image and the results appear side by side.
- Check the credit price on the button, start, then compare and download.
Uploaded images and results are deleted within 24 hours (privacy policy). If you also need a different file format, the HD image converter upscales with Real-ESRGAN and converts to WebP, PNG or JPG in one step.
Tips for a clean 4K result
- Start from the best original. A JPEG that has been re-saved several times carries block artifacts, and the upscaler enlarges those too.
- Save as PNG. PNG compression is lossless (Wikipedia — PNG); saving the 4K result as JPEG adds another round of lossy compression.
- Check at 100% zoom. Look at faces, lettering and fine patterns before you publish. That is where generative models change things.
- Upscale last. Crop, color-correct and retouch at the original size, then upscale once.
Try it
Start with the free upscaler. If the result is still soft, run the same image through the AI Image Enhancer and compare a pixel-faithful model with a generative one side by side.